

Webflow Cookie Consent: A 2026 Setup Guide That Actually Blocks Trackers
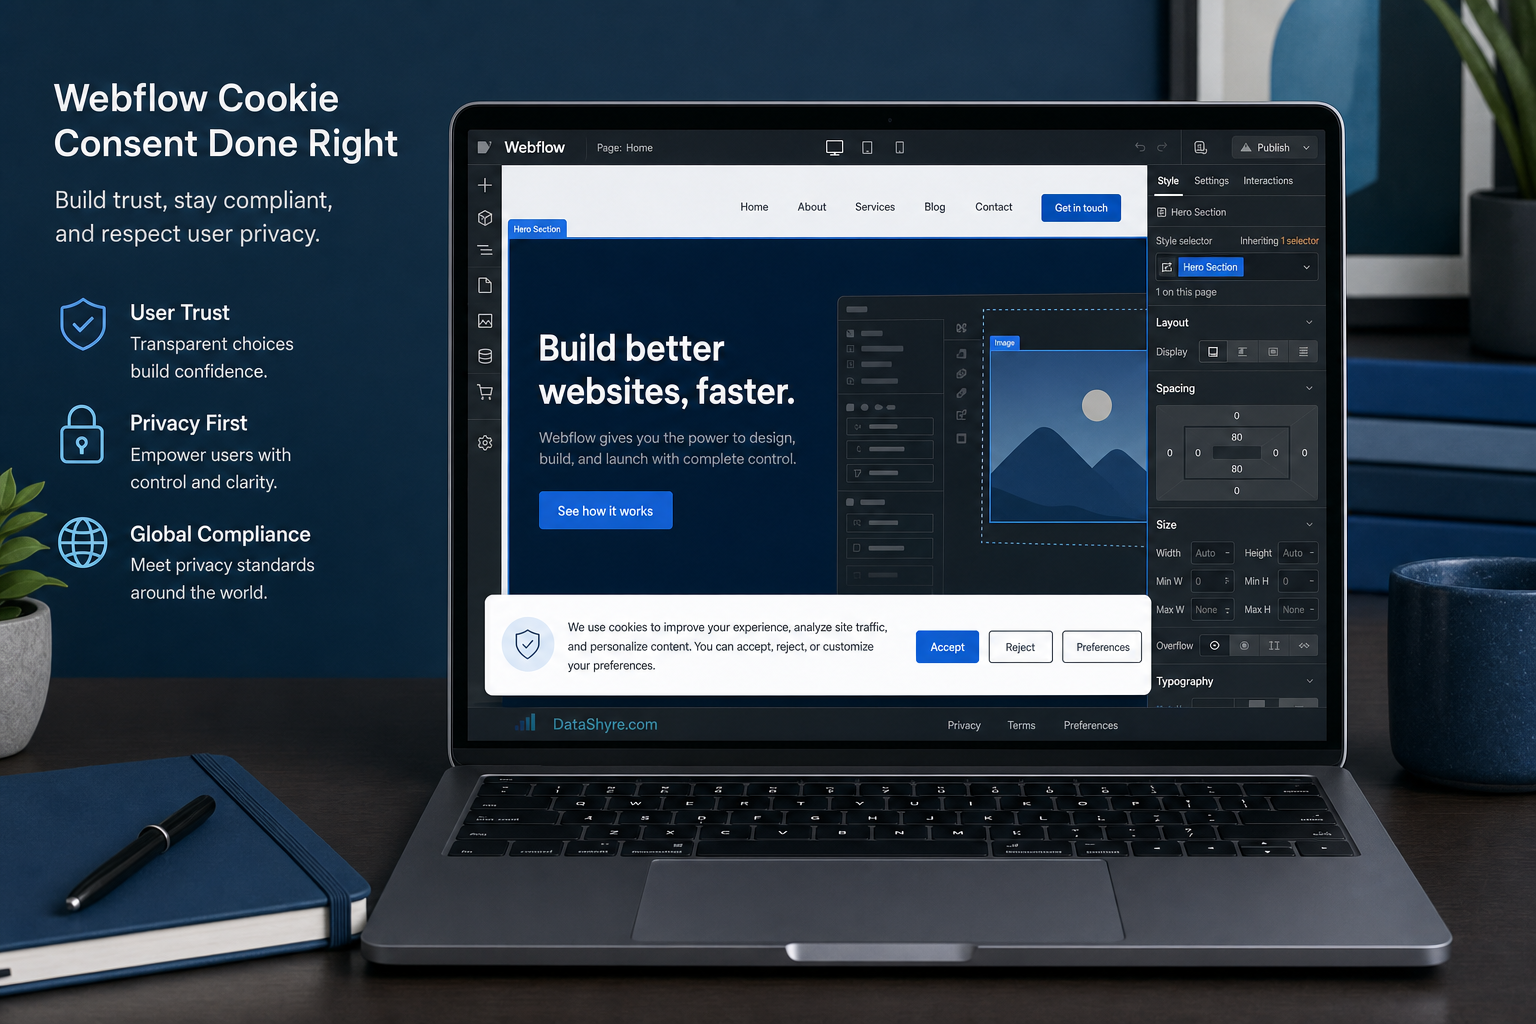
Getting webflow cookie consent right is less about drawing a banner and more about controlling what loads before a visitor chooses. That is the part teams miss. A polished prompt is easy. Stopping analytics, ad, and personalization tags before they fire is the real job.
Webflow is fairly direct about the platform limits. Its official Browser APIs documentation says consent tools can block Webflow’s own analytics and optimization cookies, but third-party scripts still need their own controls. Its integration guides and OneTrust app documentation also make clear that many teams solve this with a dedicated consent app or a CMP layered into custom code.
If you want the broader baseline first, start with our guide to cookie consent. If your stack already runs tags through GTM, this cookie consent Google Tag Manager guide is the next useful reference.
What Webflow cookie consent needs in 2026
For most business sites, a solid Webflow setup needs five things working together:
- a consent layer that appears on the published site;
- blocking for non-essential scripts before choice;
- region-aware logic for EU, UK, and California traffic;
- a way to reopen settings and withdraw consent later;
- proof that the live site behaves the way the banner claims.
That legal baseline has not softened. The European Commission still says valid consent must be freely given, specific, informed, and easy to withdraw. On April 29, 2026, the UK ICO published its final storage-and-access technologies guidance and spelled out that the rules cover more than classic cookies. They also reach tracking pixels, link decoration, scripts, and some fingerprinting. In France, the CNIL’s cookie rules keep repeating a point many sites still dodge: refusing cookies should be as easy as accepting them.
Start with the platform reality
If you are publishing from Webflow, the first decision is practical: how much control do you need over scripts, categories, and regional behavior?
Webflow does not ship with a full native consent management platform. The current official options are narrower. You can use Browser APIs for Webflow’s own tools, install a marketplace consent app, use the OneTrust app, or wire a separate CMP through custom code. That matters because a banner that only changes the interface is not enough if third-party tags still load from embeds, GTM, or direct head scripts.
I would keep the decision simple:
- use a lightweight Webflow app if the site runs a small number of trackers and your categories are straightforward;
- use a full CMP plus tag governance if you run multiple vendors, regional rules, or paid media measurement.
For a marketing-heavy site, the second option is usually the safer one.
Choose an implementation path that can actually block scripts
There are two paths that hold up better than the rest.
Path 1: a Webflow app or CMP script for simpler sites
This is the faster route. You install a consent tool, configure categories, and publish it on the site. Webflow’s current marketplace includes tools built for this exact job, and OneTrust’s official Webflow app gives enterprise teams a more structured option.
The catch is ordering. If you scatter third-party scripts across page embeds and head code, your consent layer has to load early enough to stop those tools before they fire. If it loads after the tracking code, the banner may look fine while the site still drops non-essential identifiers too early.
Path 2: CMP plus GTM for tighter control
This is the better route when the site uses several vendors or Google tags. Google’s consent mode docs say you should set the default consent state before any page transition or measurement activity, then update that state when the user makes a choice. In practice, that means holding analytics, ads, and remarketing tags until the CMP releases them.
That setup is more work up front, but it is much easier to audit later.
Design for valid choice, not just a pretty banner
This is where a lot of webflow cookie consent projects drift into privacy theater.
The European Data Protection Board has said users need “real choice”, in the words of Chair Anu Talus. When the ICO published its final 2026 guidance, Executive Director for Regulatory Risk William Malcolm said people should have “meaningful control over how their data is used” online.
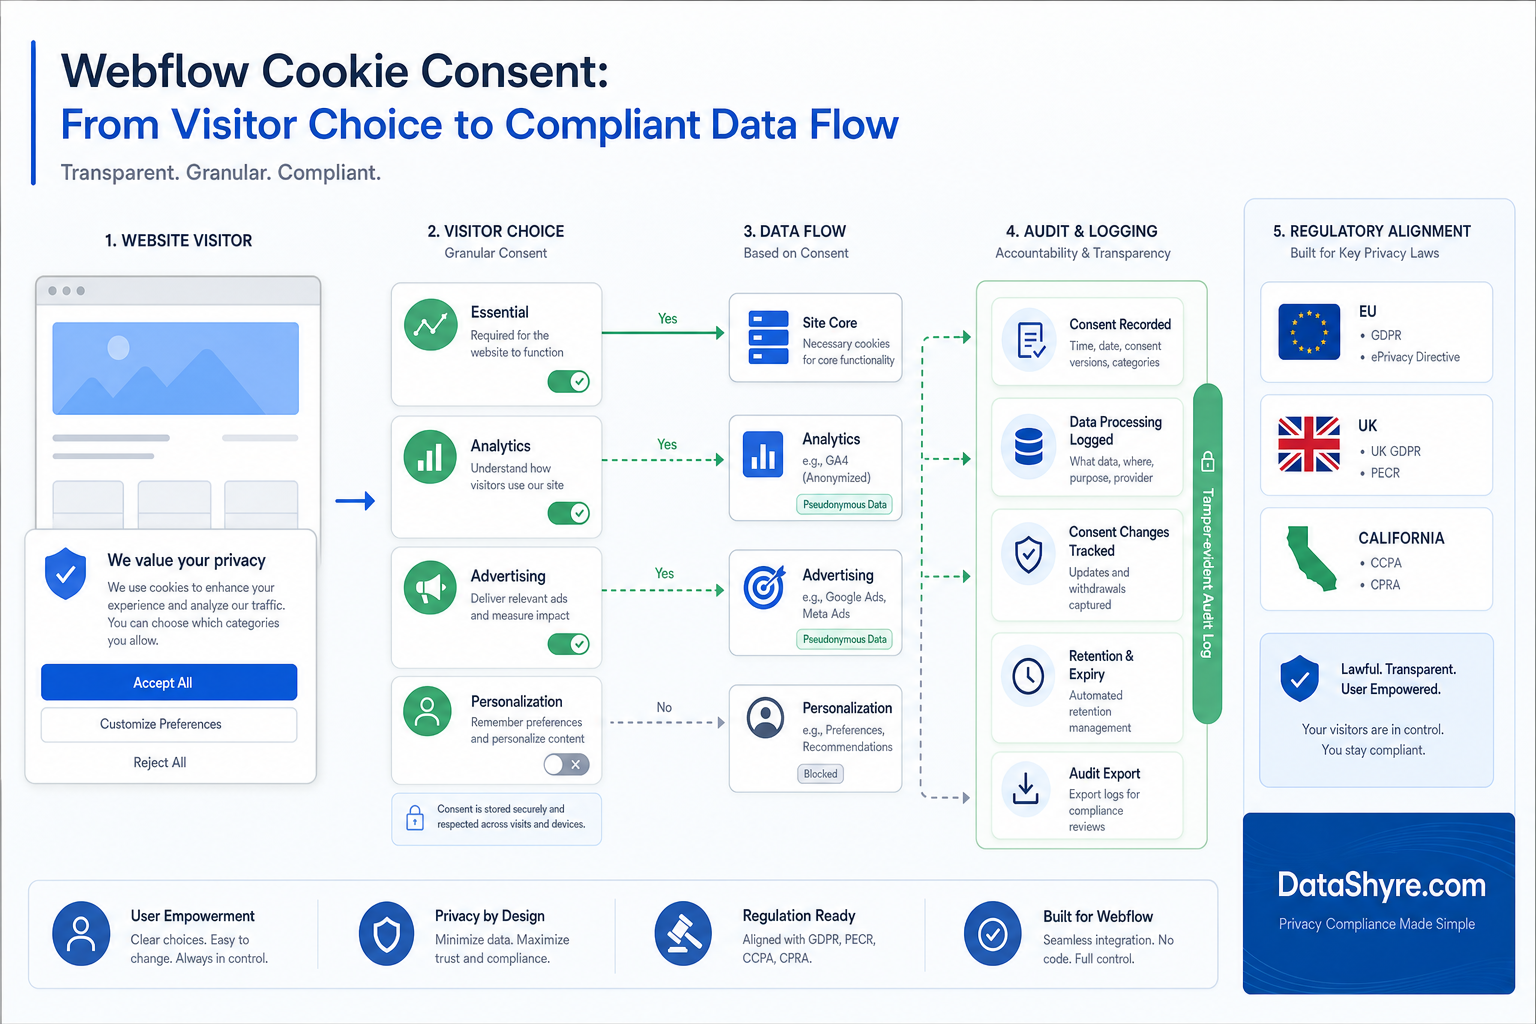
Those are short quotes, but they point to the same design rule. Your banner should:
- show accept and reject on the first layer when prior consent is required;
- explain categories in plain language;
- avoid bundling analytics, advertising, and personalization into one vague switch;
- make it easy to reopen settings later.
If reject is hidden, if the categories are muddy, or if the preference center never changes what loads, the implementation is weak no matter how polished it looks.
Add California logic without pretending it is the same as EU consent
Not every US visit needs an EU-style opt-in banner. California is different, and that difference matters.
The California Attorney General says a user-enabled Global Privacy Control signal is a valid request to stop the sale or sharing of personal information for covered businesses. In the state’s February 11, 2026 settlement with Disney, Attorney General Rob Bonta said businesses cannot force people to go “device-by-device or service-by-service” to opt out.
So if your Webflow site serves both Europe and California, you may need two layers of logic at once:
- opt-in controls where prior consent applies;
- opt-out and GPC handling for California-facing flows.
That sounds operational because it is. Good consent work is usually more about logic than layout.
Test the published site, not the mockup
This is the part most teams rush. Do not stop at a design review.
Test the live domain with a clean browser session. Reject all and confirm non-essential tags stay blocked. Accept one category and check that only that category fires. Reopen settings and withdraw consent. Then test the California path with GPC enabled. If you want a tighter QA pass, our website privacy checker guide is a good last step.
I would also test mobile layouts, landing pages with custom embeds, and any page that loads video players, chat widgets, or scheduling tools. Those are common leak points.
Bottom line
The cleanest way to think about your consent setup is this: the banner is just the interface. Compliance depends on script order, category logic, regional rules, and proof from the live site. If you treat it like a front-end decoration, it will fail. If you treat it like release engineering with privacy requirements attached, it usually holds up much better.
Sources
- Webflow Browser APIs documentation
- Webflow Marketplace
- Webflow Apps: OneTrust
- European Commission consent guidance
- UK ICO storage and access technologies guidance
- UK ICO announcement on final guidance
- CNIL cookie guidance
- Google for Developers consent mode guidance
- California Attorney General Global Privacy Control guidance
- California Attorney General Disney settlement announcement